Description
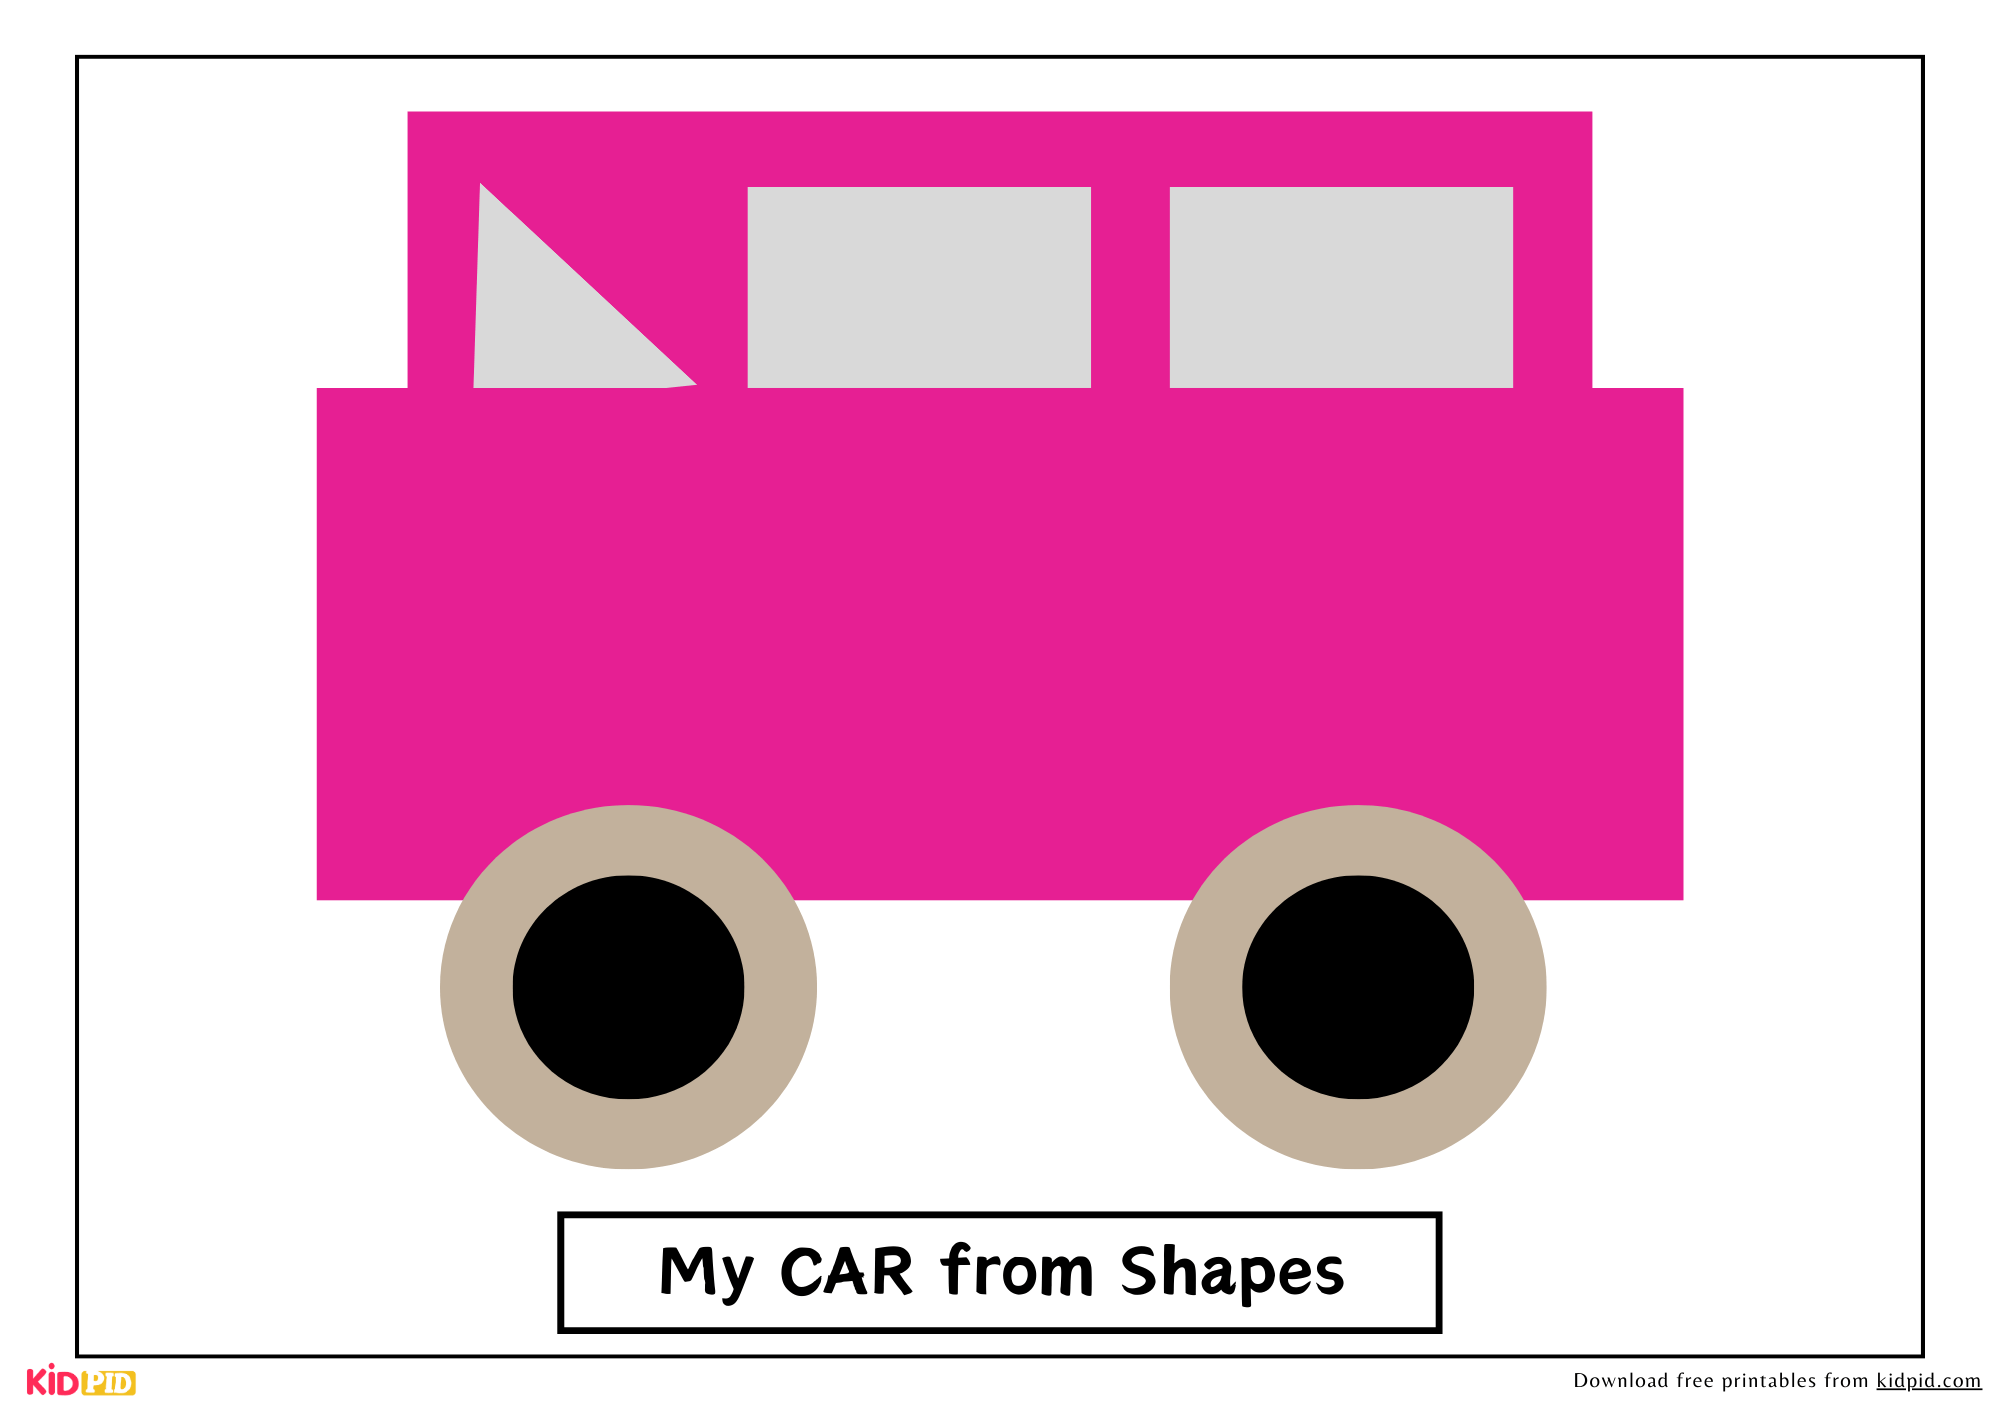
It wasn’t until we cut out a big rectangle for a car body and little circles for wheels that it finally clicked for him. He wasn’t just learning shapes; he was building with them.
That’s the magic of a simple cut-and-paste craft. It’s not just about keeping little hands busy for ten minutes (though that’s a great benefit!). It’s a powerhouse of development disguised as play.
Why This Simple Car Craft is a Learning Goldmine
Sure, kids can just color a picture of a car. But when they handle the shapes themselves, something different happens. Here’s what this activity genuinely helps build:
- Fine Motor Skills: This is a fancy term for the tiny muscles in those little hands. The act of grasping safety scissors and carefully cutting along a line is a massive workout for those muscles, getting them strong and ready for writing, buttoning coats, and tying shoes.
- Shape & Color Recognition: This is the obvious one, but it’s so effective. They’re not memorizing; they’re seeing that a car body is a rectangle and wheels are circles. It makes learning tangible.
- Spatial Awareness: Figuring out where the wheels go in relation to the body and how everything fits together on the page is like a first lesson in puzzle-solving and basic engineering!
- Focus and Patience: Following the steps to complete a project is a brilliant way to practice concentration. And in my experience, the pride on their face when they finish it all by themselves is worth every bit of the effort.
Step-by-Step Guide
You won’t need special supplies. Here’s how to make it a smooth ride for everyone:
What You’ll Need:
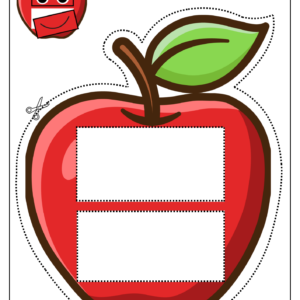
- Our Car Shape Cut-Out Printable (of course!)
- A pair of safety scissors
- A glue stick
- Crayons, colored pencils, or markers
- A thick piece of paper or construction paper to glue it onto
The Fun Part: Instructions
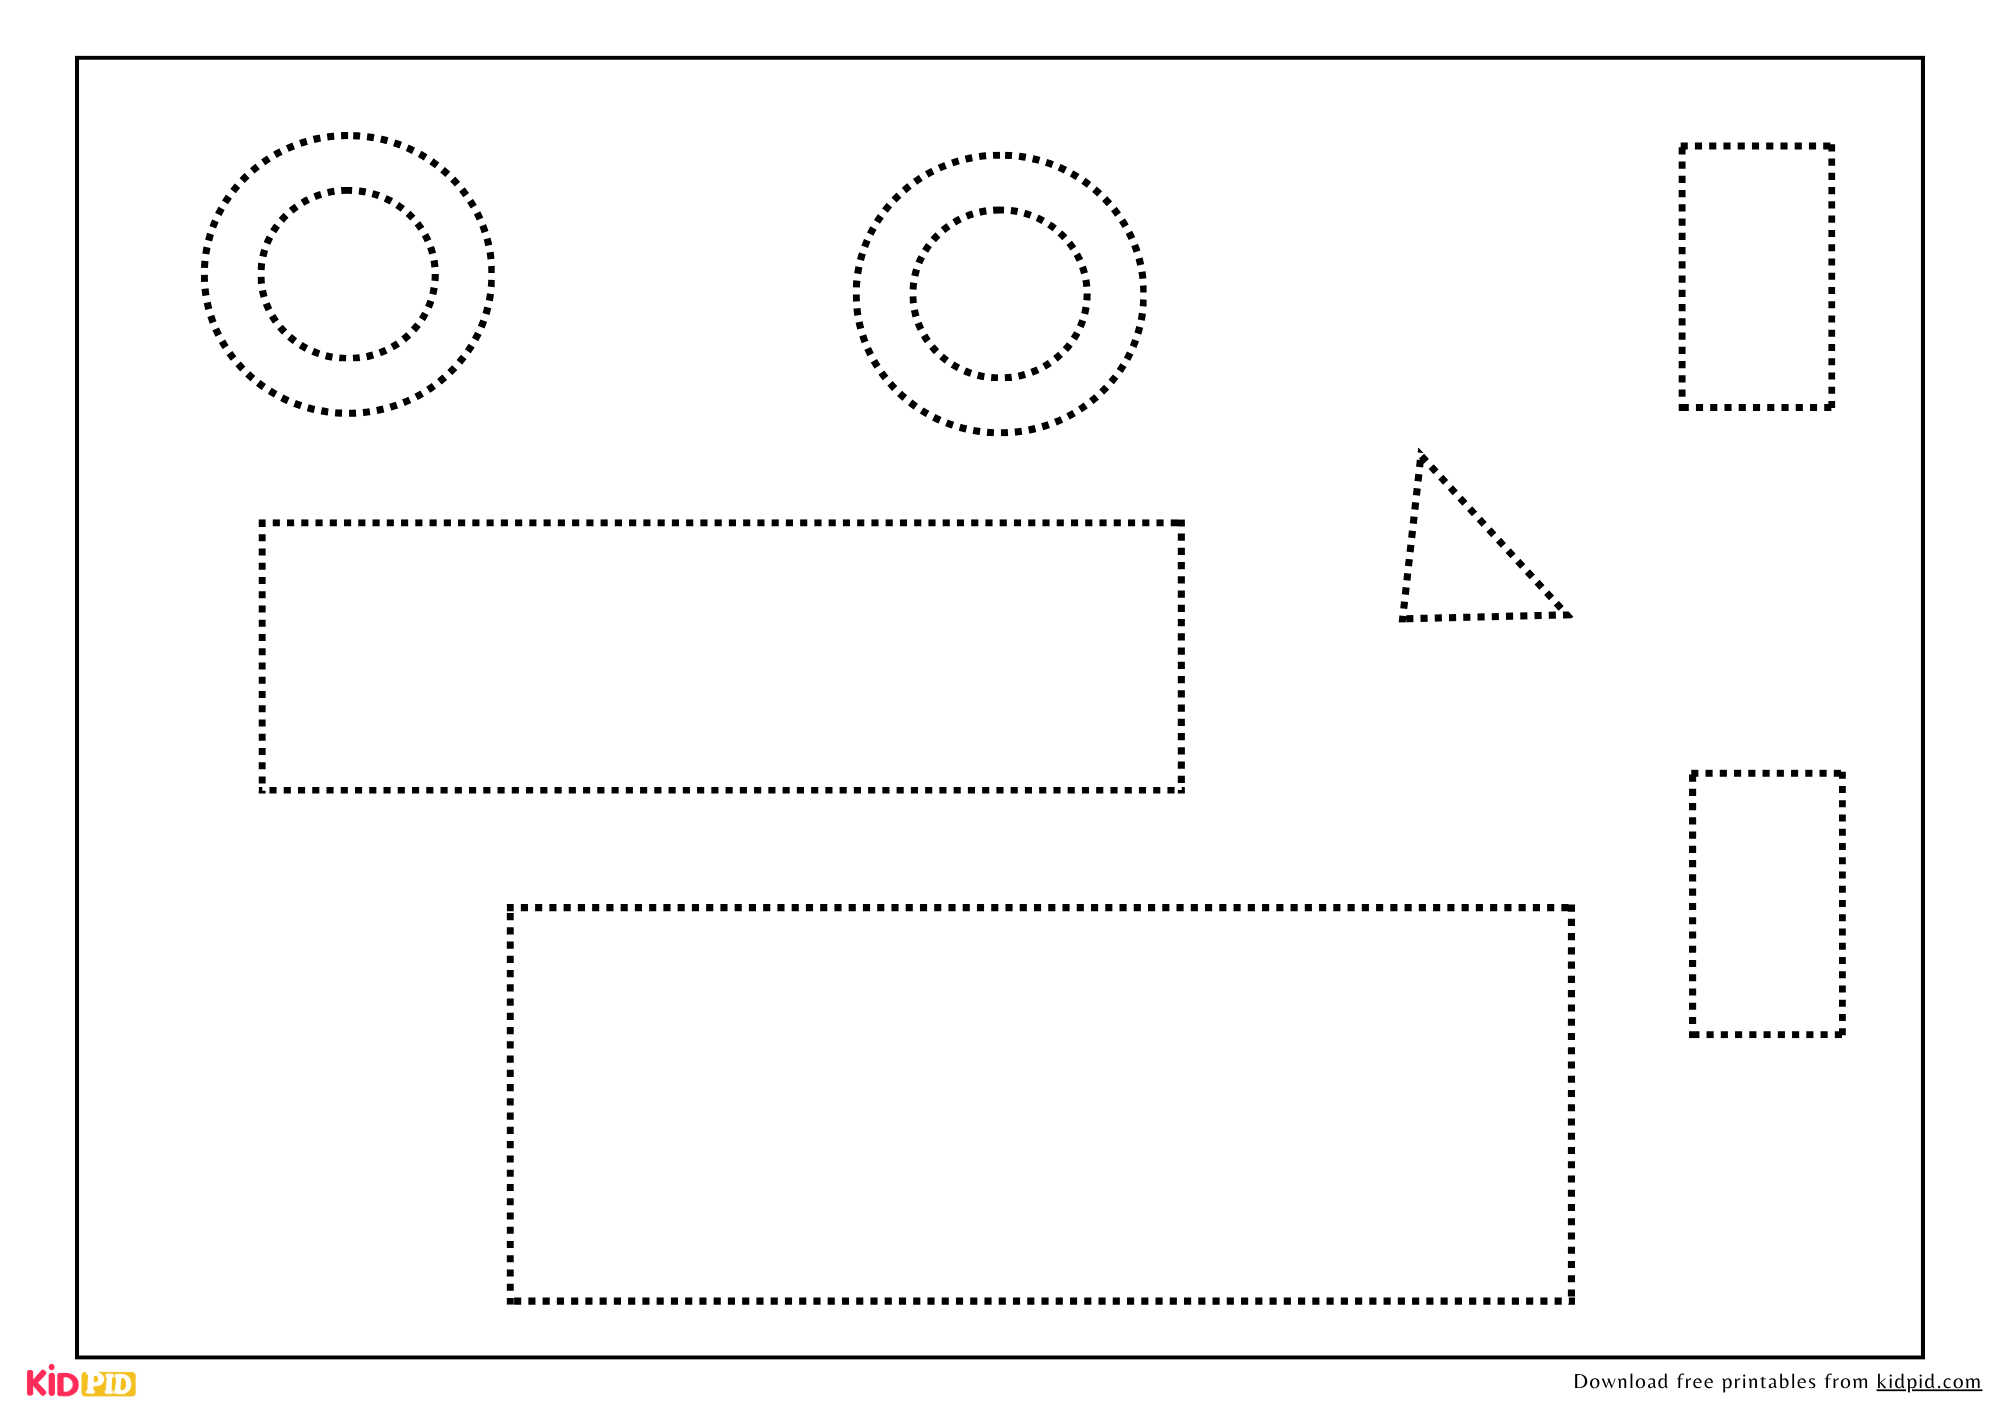
- Print & Color: First, print out the worksheet. Let your child color in all the shapes before any cutting happens. It’s much easier to color a full sheet than a bunch of tiny cut-out pieces!
- Cut Carefully: Help your child carefully cut out the rectangle, circles, and other shapes along the solid lines.
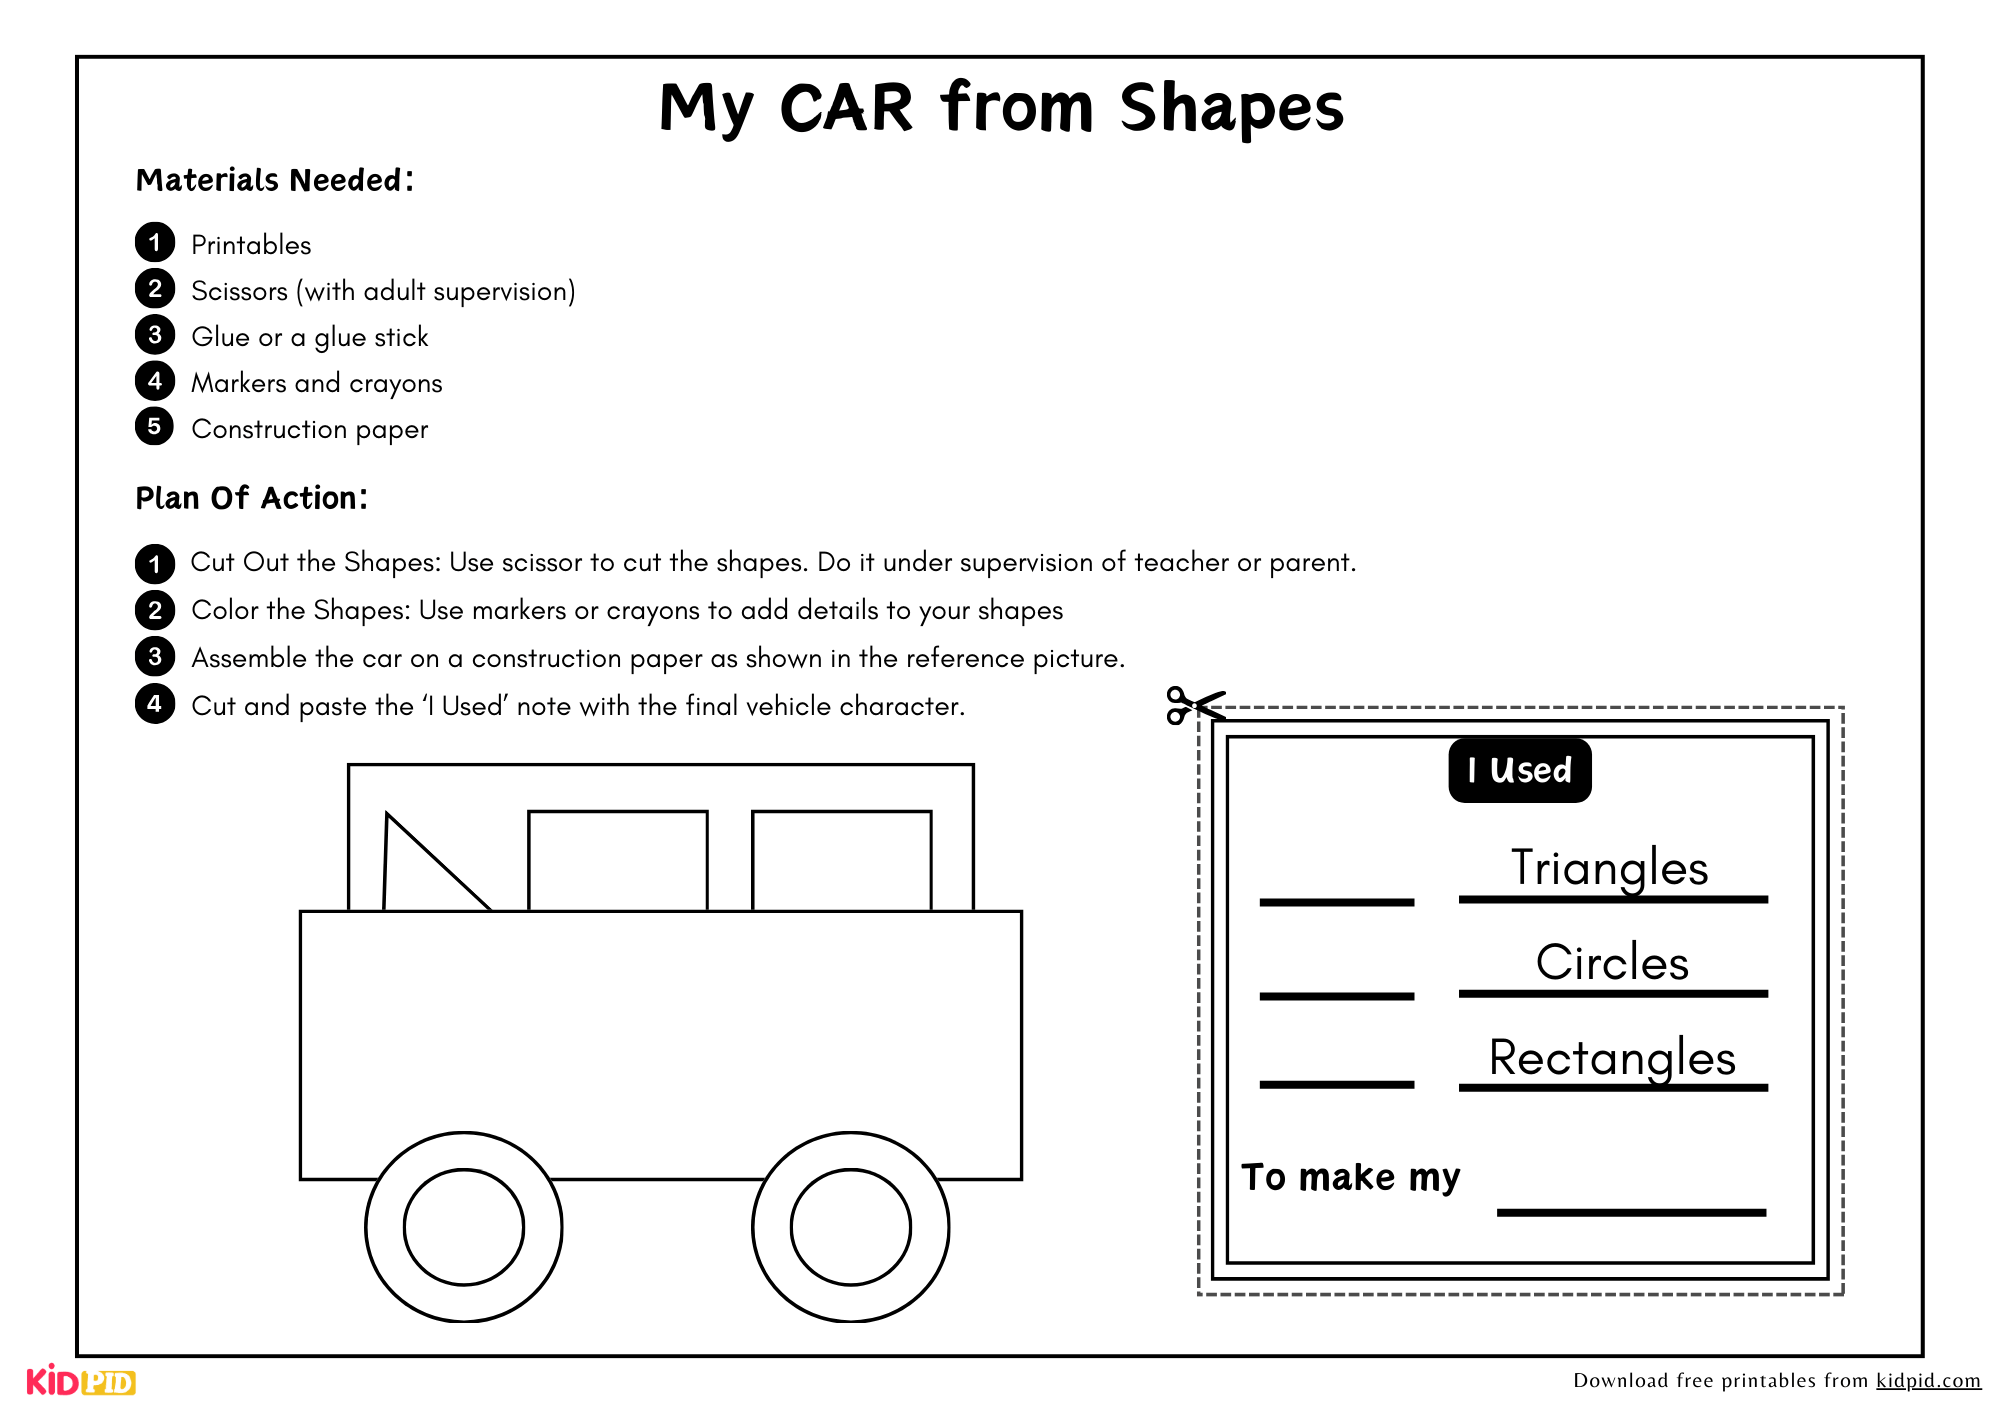
- Arrange & Glue: Before any glue comes out, have them arrange the pieces on a new sheet of paper. Where should the wheels go? What about the windows? This is where their creativity shines. Once they’re happy with the design, glue everything down.
- Celebrate! Display their masterpiece on the fridge. This positive reinforcement makes them feel proud and eager to try the next project.
Pro-Tips from Our Classroom to Your Home
We’ve printed and tested this with dozens of kids, and here’s what makes the experience even better:
- For Tiny Toddlers (2-3 yrs): Don’t stress about perfect cutting. You can do the cutting for them and let them focus on the gluing and arranging. The sensory experience of handling the glue stick is valuable on its own!
- Make it a Story: “Okay, our rectangular car body is ready! But oh no, it can’t move! What does it need? That’s right, WHEELS!”
- Extend the Play: The learning doesn’t have to stop when the glue dries. Make a whole garage out of a cardboard box for their new vehicle. Draw a road on a big piece of paper. This is where the real imaginative play begins.
Enjoy this creative learning activity with your child!
This article is thoughtfully developed by our Content Team for meaningful learning experiences.
Reviews
There are no reviews yet.