Activity › Discussion › Art & Craft › Origami Aeroplane Craft
-
Origami Aeroplane Craft
Posted by Dikshu on January 31, 2024 at 11:05 amHow to make an Origami Aeroplane?
brajesh replied 3 months ago 2 Members · 1 Reply -
1 Reply
-
::
Making an origami airplane can be a fun and creative activity. Here are the steps to make a simple origami airplane:
-
Start with a square piece of origami paper. If you don’t have origami paper, you can use any square-shaped paper, such as colored or patterned paper.
-
Fold the paper in half diagonally to create a triangle. Make sure the edges are aligned and crease the fold well.
-
Unfold the triangle and fold the paper in half again, this time horizontally. You should end up with a smaller square.
-
Fold the top two corners of the square down towards the center, forming a kite shape. Make sure the edges are aligned and crease the folds well.
-
Take the top layer of the left and right sides and fold them towards the center, aligning with the central crease. This will create two triangular flaps.
-
Flip the paper over. Take the bottom tip of the paper and fold it up towards the top, aligning with the top edge of the paper. This will form the body of the airplane.
-
Fold the paper in half along the existing central crease, bringing the top edge down towards the bottom edge. This will create a sharp crease in the middle.
-
Fold down the wings of the airplane. Start by folding the left wing down, aligning it with the bottom edge of the paper. Repeat the same fold for the right wing.
-
Flip the paper over once more. You now have your origami airplane!
Remember, the folding process may require precision and accuracy. Take your time and make sure to crease the folds well to create a sturdy airplane. You can also experiment with different paper sizes and decorations to customize your origami airplane. Enjoy the process and have fun flying your creation!
-
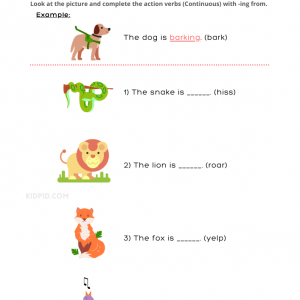
 Action Verbs ending in "ing" Printable Worksheets for Grade 1